
Last updated September 24, 2026
Free in-home measure and quote - PGT, CGI and CWS impact lines compared on your actual openings, style by style
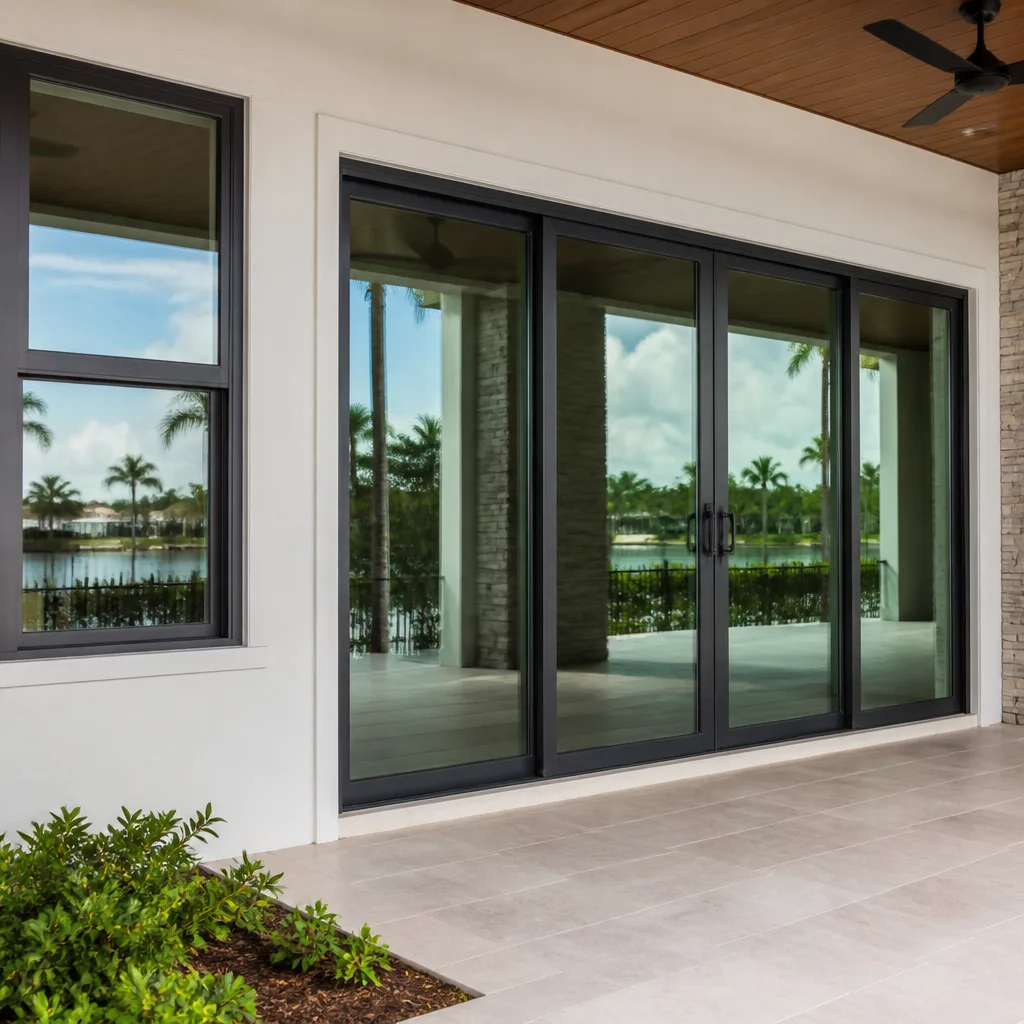
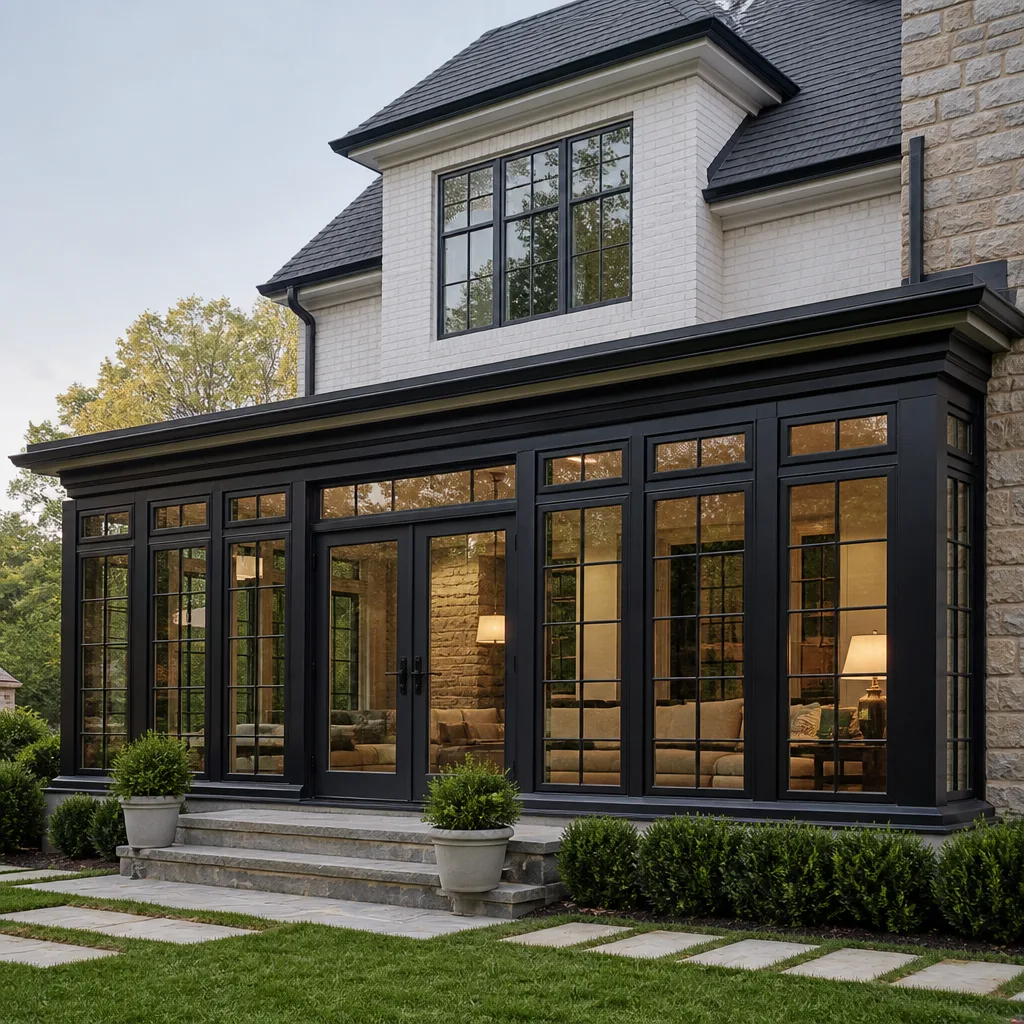
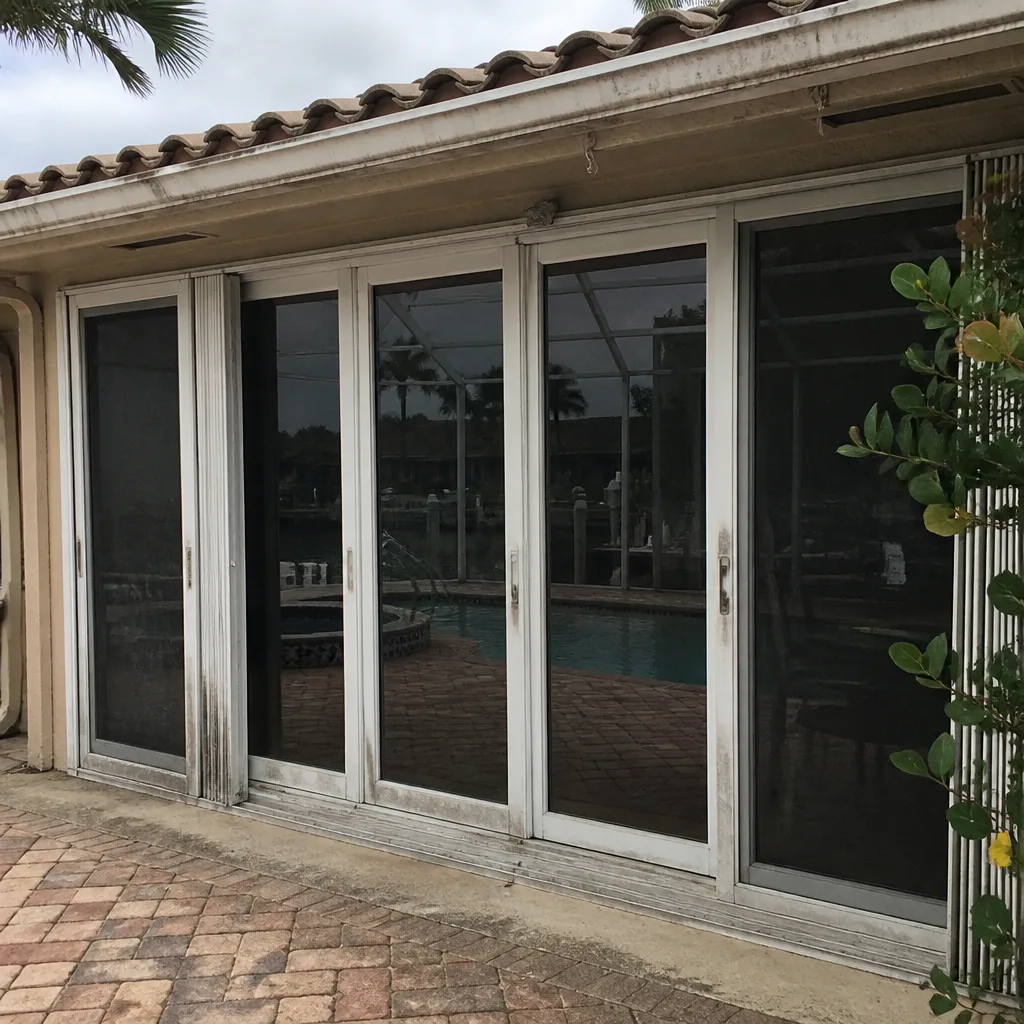 Before
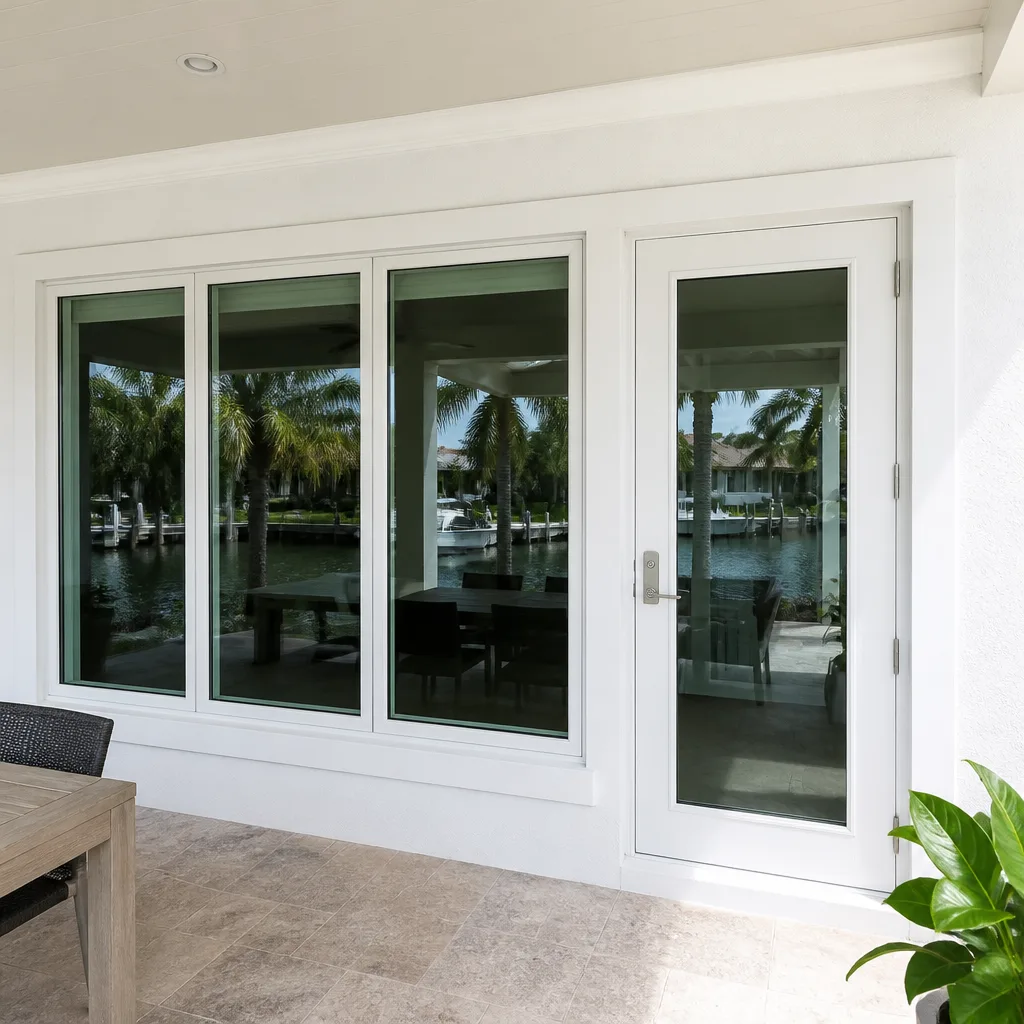 After
After Before
 After
After Before
 After
AfterWindows & Doors Warning Signs: A Lighthouse Point Homeowner’s Reference Guide
The gap between “my window is fine” and “my window is actively leaking into the wall cavity” is typically 12 to 24 months of detectable intermediate signs. Most Lighthouse Point homeowners never see them coming because standard guides only describe end-state failures: visible rot, active leaking, shattered glass. In our experience across more than 18,000 openings since 2012, the homeowners who catch problems early share one habit - they know what to look for at the 8-to-18-month mark, when intervention is still a repair or a targeted seal, not a full-frame replacement. This guide documents those intermediate indicators specific to our marine environment, where salt air, high humidity, and the thermal cycling of South Florida’s wet season accelerate failures that inland guides miss entirely.
Quick Answer
Window and door failure in Lighthouse Point typically announces itself 12-18 months before catastrophic symptoms appear through four detectable patterns: condensation location (center glass vs. edge vs. frame), operation resistance that changes seasonally, salt-front corrosion progression on aluminum hardware, and interior reveal changes like paint bubbling or baseboard separation. A flashlight and a basic moisture meter are sufficient to catch most early indicators.
Table of Contents
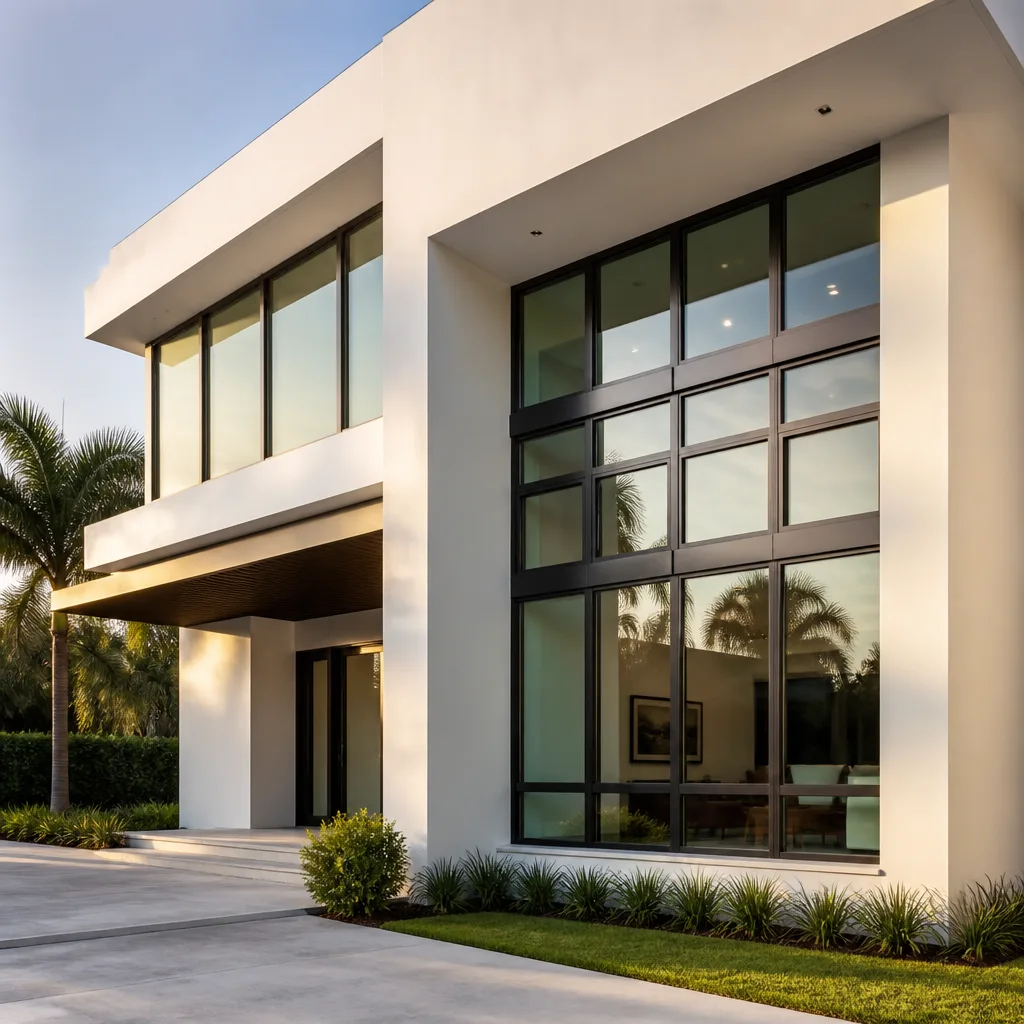
- The Condensation Location Diagnostic: Reading Your Glass Like a Glazier
- Operation Resistance as a Structural Indicator
- Salt-Front Corrosion in Lighthouse Point’s Marine Environment
- The Four Sealant Failure Stages (Visible Without Tools)
- How to Read the Reveal: Interior Wall Signals
- Frame Material-Specific Warning Signs
- Common Mistakes to Avoid
- When to Call a Professional
- Frequently Asked Questions
 Before
 After
AfterThe Condensation Location Diagnostic: Reading Your Glass Like a Glazier
Not all condensation means the same thing. Where moisture forms on or inside a window unit indicates which component is failing and how much time remains before the damage becomes structural. This is the diagnostic we perform first on every window replacement in Lighthouse Point call, and it is the single most useful skill a homeowner can develop.
Center Glass Condensation
Moisture in the middle of the insulated glass unit (IGU), where you cannot wipe it away, indicates seal failure. The desiccant inside the spacer bar has saturated. In Lighthouse Point’s climate, this typically progresses from first visible fogging to permanent mineral staining in 6 to 14 months. Once staining appears, the Low-E coating and any gas fill are compromised. The unit needs replacement, but the frame and sash may still be serviceable.
Check on cool mornings after humid nights. If the fog clears by midday, the seal is failing but not yet failed. If it persists or leaves a haze, the unit is past the repair threshold.
Edge Condensation (At the Spacer)
Moisture collecting where glass meets frame, especially at the bottom edge, points to a thermal bridge. The spacer material is conducting exterior temperature to the interior surface, dropping it below the dew point. This is common in older aluminum-frame units in Lighthouse Point, where the conductive frame overwhelms the spacer’s thermal break.
Edge condensation is more urgent than it appears. The constant moisture wicks into the sash joint, degrading gaskets and eventually the frame corner itself. We see this pattern frequently in waterfront homes east of Federal Highway, where wind-driven rain compounds the thermal stress.
Frame Surface Condensation
Moisture on the interior face of the frame, not the glass, signals inadequate interior humidity control or a missing or failed thermal break. In impact-rated aluminum frames - the standard for Lighthouse Point’s High Velocity Hurricane Zone - a failed thermal break cannot be field-repaired. The frame requires replacement.
Interior Reveal Condensation
Moisture on the wall surface adjacent to the window, not on the window itself, indicates air leakage at the rough opening. Warm, humid exterior air is bypassing the window’s weatherstripping and condensing on the cooler interior wall. This is the pattern most likely to cause hidden damage, as the moisture deposits inside the wall cavity before ever becoming visible.
Run your hand along the interior reveal on a humid morning. Any cool spot or slight dampness warrants investigation with a moisture meter. Readings above 16% on drywall or wood trim indicate active water intrusion.
Condensation Diagnostic Summary
| Location | What It Indicates | Typical Timeline to Structural Damage | Intervention Type |
|---|---|---|---|
| Center glass (between panes) | IGU seal failure | 6-14 months to permanent staining | Glass unit replacement |
| Edge at spacer | Thermal bridge / spacer failure | 8-18 months to sash joint rot | Sash or full unit replacement |
| Frame interior surface | Failed or missing thermal break | 12-24 months to frame corrosion | Full frame replacement |
| Interior reveal / wall | Air leakage at rough opening | 3-12 months to cavity damage | Seal repair or full replacement with proper flashing |
Operation Resistance as a Structural Indicator
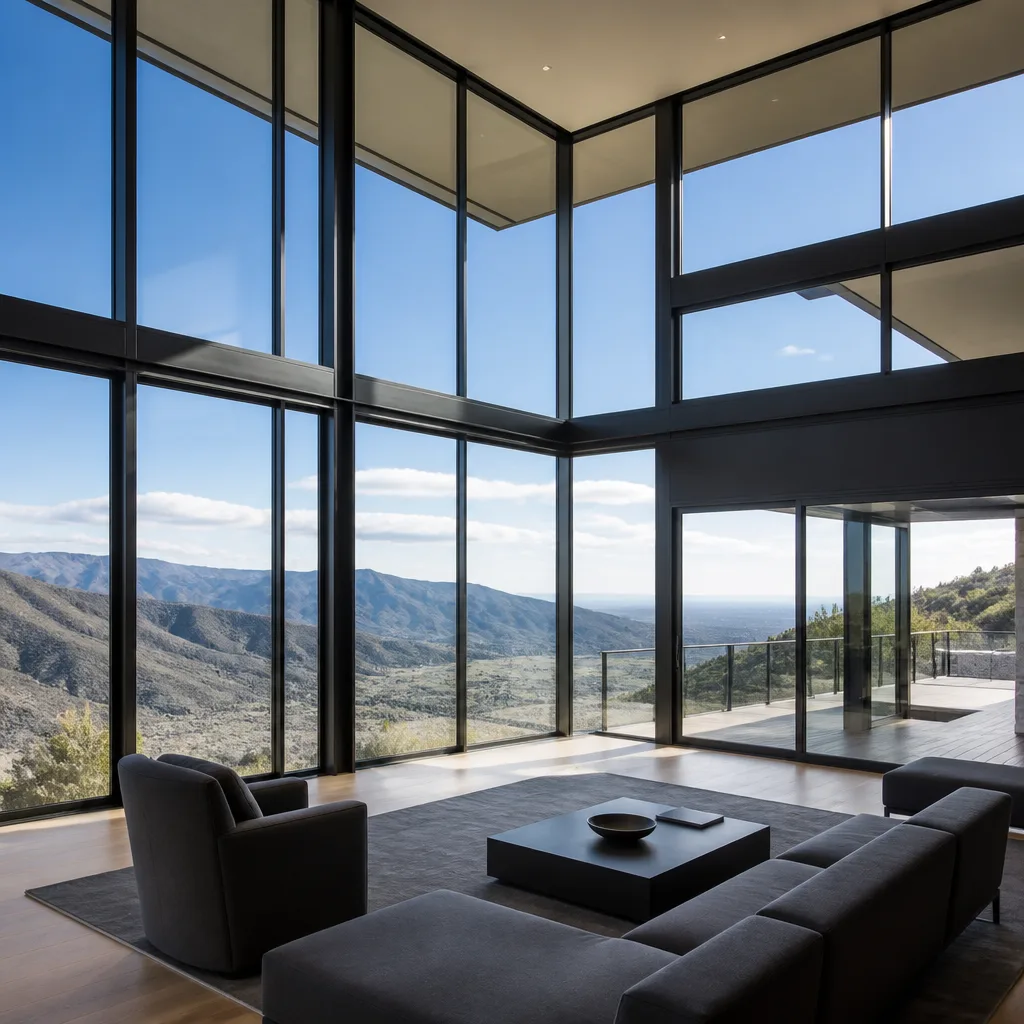
A window or door that “sticks a little” is not necessarily old hardware. The specific character of the resistance - when it occurs, how it changes, which direction it binds - distinguishes foundation movement from hardware wear from frame deformation. Misreading this signal leads homeowners to lubricate a structural problem or replace hardware when the frame is racking.
Type 1: Seasonal Binding (Foundation or Header Movement)
The window operates smoothly in dry months and binds during or after heavy rain. The binding affects multiple units on the same wall or floor. The sash appears to rack slightly in the frame, catching at one corner before the other.
This pattern indicates differential settlement or header deflection, common in Lighthouse Point’s coastal soils where limestone substrate and seasonal water table changes create micro-movement. The window is square; the opening is not. Lubrication will not help. Shimming or structural repair may be needed before window replacement, or the new unit will bind identically within one wet season.
Document the pattern: which units, which season, which direction of binding. This record is valuable for any contractor assessing whether the window or the opening is at fault.
Type 2: Progressive Stiffness (Hardware Wear)
Operation gradually worsens across all seasons, equally. The resistance feels mechanical, not structural - grinding, not racking. Single-hung windows resist at the balance shoe; sliding doors drag along the full track length.
This is genuine hardware wear. In salt-air environments, corrosion of rollers, balances, and locking mechanisms accelerates. We see this most in original equipment on homes built 2005-2015, where hardware specifications predated current marine-grade standards. Replacement hardware is often available, but verify that the manufacturer still produces the specific balance or roller for your series. Obsolescence is common after 10-12 years.
Type 3: Sudden Binding After Weather (Frame Deformation)
The unit operated normally, then bound severely after a storm, extreme heat event, or nearby impact. The sash no longer sits parallel in the frame, or the door panel rubs the header.
This indicates frame deformation: thermal expansion beyond design limits, wind loading that stressed corner joints, or impact transfer that racked the frame without breaking glass. In impact-rated systems, the laminated glass may have absorbed energy that deformed the frame. The unit requires inspection for hidden damage to the reinforcement and corner keys.
The Binding Diagnostic
- Test operation at mid-day and after sunset - thermal expansion changes clearances by 1/16″ to 1/8″ in aluminum frames.
- Apply light pressure to the sash corner while operating. If binding releases, the frame is racking; if not, hardware is suspect.
- Check multiple units. Isolated binding suggests hardware or single-unit frame issues. Widespread, patterned binding suggests structural movement.
- Document with video, including date, time, and temperature. This evidence accelerates accurate diagnosis by any professional.
Salt-Front Corrosion in Lighthouse Point’s Marine Environment
Lighthouse Point’s location on the Atlantic Intracoastal Waterway places every home within two miles of salt water. The prevailing easterlies carry chloride ions inland, and the near-constant humidity prevents the drying cycles that would otherwise passivate aluminum surfaces. Corrosion progression here differs materially from inland Florida markets, and the visual stages are specific enough to schedule replacement before failure.
Stage 1: Surface Oxidation (Chalky Residue)
A white or gray powder forms on anodized or painted aluminum surfaces, especially on horizontal members and hardware. This is aluminum oxide, the material’s natural protective layer. It is not yet active corrosion. Wipe with a damp cloth: if the residue removes easily and the underlying finish is intact, the surface is passivating normally.
Maintenance at this stage: gentle cleaning, inspection of drainage weeps to prevent chloride pooling. No professional intervention required.
Stage 2: Pitting Initiation
Small, dark pinpoints appear where the oxide layer has broken down locally. These are cathodic sites where chloride ions have penetrated. The pits are shallow, typically under 0.5 mm, and may be visible only in raking light.
This stage is still manageable with refinishing in some cases, but the substrate has begun active degradation. On impact-rated frames, pitting compromises the anodized layer that protects structural integrity. We document this stage with close photography for comparison at subsequent inspections.
Stage 3: Galvanic Corrosion at Fastener Points
Corrosion accelerates where dissimilar metals contact: stainless steel screws in aluminum frames, brass hinges on aluminum stiles, copper flashing against aluminum subsills. The aluminum becomes sacrificial. Visible symptoms include raised paint, rust staining from steel fasteners, or green copper corrosion products wicking into aluminum.
This stage requires intervention. The galvanic couple is self-accelerating; the corrosion rate increases as the contact area degrades and electrolyte access improves. In Lighthouse Point, we see this most at upper-floor windows where wind-driven rain maintains constant wetting. Replacement of the affected component is typically necessary; spot repair rarely arrests the galvanic cell.
Stage 4: Structural Section Loss
Visible thinning, flaking, or perforation of frame members. The unit has reached end of service life. Structural capacity, especially for impact resistance, cannot be assumed. Immediate replacement is indicated.
Homes east of NE 24th Street and along the waterway corridors see Stage 3 and 4 corrosion 30-40% earlier than homes west of US-1, based on our field documentation. Orientation matters: southeast-facing exposures bear the brunt of salt-laden onshore flow.
The Four Sealant Failure Stages (Visible Without Tools)

Perimeter sealant - the bead between window frame and wall cladding - is the most neglected component of the assembly and the most common leak path we find in Lighthouse Point homes. Its failure progresses through four visible stages, each with a distinct intervention threshold.
Stage 1: Surface Chalking and Color Fade
The sealant surface becomes powdery or noticeably lighter. This is UV degradation of the outer skin only. The sealant body remains elastic and adhered. No water intrusion yet.
Intervention: DIY maintenance acceptable. Clean and apply compatible sealant manufacturer’s recommended protective coating, or schedule professional cleaning as part of annual maintenance. No urgency.
Stage 2: Surface Cracking (Alligatoring)
Hairline cracks appear in the exposed surface, often in a network pattern. The cracks do not yet penetrate to the substrate. Water may pool in cracks but does not bypass the sealant body.
Intervention: Professional re-sealing recommended. The sealant has reached end of cosmetic life and is entering functional degradation. In Lighthouse Point’s UV exposure, Stage 2 typically progresses to Stage 3 within 18-30 months. We provide written scope and price for re-sealing under Haven Clause 1; the measurement and quote are the same document. Need help choosing a pro? Read How to Hire a Windows & Doors Contractor in Lighthouse Point.
Stage 3: Adhesive Failure (Lifting, Peeling)
The sealant separates from one substrate - frame or wall - while remaining cohesive. A gap forms, visible as a dark line or visible backing rod. Water can now bypass the sealant and reach the rough opening.
Intervention: Professional re-sealing required, with inspection of the rough opening for accumulated moisture damage. This is not a maintenance item; it is a repair. The gap allows wind-driven rain direct access, and in Lighthouse Point’s hurricane exposure, this is the failure mode that produces interior damage during named storms.
Stage 4: Cohesive Failure (Splitting, Crumbling)
The sealant body itself splits or crumbles. Gaps are visible through the sealant. Water intrusion is active and likely has been for multiple seasons.
Intervention: Full inspection of the window-wall interface, likely including removal of trim or cladding to assess rough opening condition. Window replacement may be necessary if frame attachment has corroded or if wood buck has rotted. We document this with photography and provide the measured survey the customer keeps.
Sealant Inspection Protocol
- Inspect from ground level with binoculars annually; close inspection from a ladder every two years.
- Probe gently with a plastic spatula at suspect areas. Adhesive failure reveals itself as lifting with minimal pressure.
- Check after temperature swings: sealant expands and contracts most on south and west exposures, stressing the bond.
- Photograph annually for comparison. Progressive change is more informative than a single inspection.
How to Read the Reveal: Interior Wall Signals
The most expensive window failures are those that damage the wall before the window shows symptoms. The interior reveal - the finished wall surface surrounding the window or door - provides early warning if you know the specific patterns.
Paint Bubbling or Blistering
Localized bubbling in paint or wallpaper, typically at the lower corners or along the sill, indicates moisture accumulation in the wall cavity. The moisture migrates inward, lifting the finish from the substrate. In Lighthouse Point’s climate, this pattern is often misattributed to interior humidity or plumbing leaks.
Distinguish window-related bubbling by its location: centered on the window width, symmetric or nearly so, and absent from other walls. Check with a moisture meter: readings above 17% confirm active water, not old damage. The source is typically failed flashing or sealant at the sill, where gravity concentrates water entry.
Drywall Softness or Discoloration
The wall feels slightly yielding when pressed, or shows a faint yellow-brown stain that does not wipe away. This indicates that the drywall paper facing has begun to delaminate from the gypsum core due to repeated wetting and drying.
By this stage, the cavity insulation is likely compromised. Fiberglass batts lose R-value when wet and do not recover fully. Cellulose may have begun to compact or mold. The repair scope extends beyond the window to the wall assembly. Explore more guides & resources on protecting your home.
Baseboard Separation or Flooring Cupping
Baseboard pulling away from the wall, or wood flooring cupping adjacent to the window wall, indicates water traveling downward within the cavity and exiting at the plate line. This is advanced concealed damage. The window has likely been leaking for multiple seasons.
In homes with concrete slab construction - standard in Lighthouse Point post-1970 - water may travel laterally along the slab edge, affecting multiple rooms before the source window is identified. We use thermal imaging to trace the water path and identify all affected areas before specifying repair scope.
Trim Joint Opening
Casing joints that were tight now show gaps, or casing that was flush now stands proud of the wall. This indicates swelling and shrinkage cycles in the rough opening framing due to moisture variation. The window frame is being stressed; operation resistance often follows.
Check this with a straightedge across the casing. Any bow indicates movement in the rough opening. Document with photographs for comparison over time.
Frame Material-Specific Warning Signs
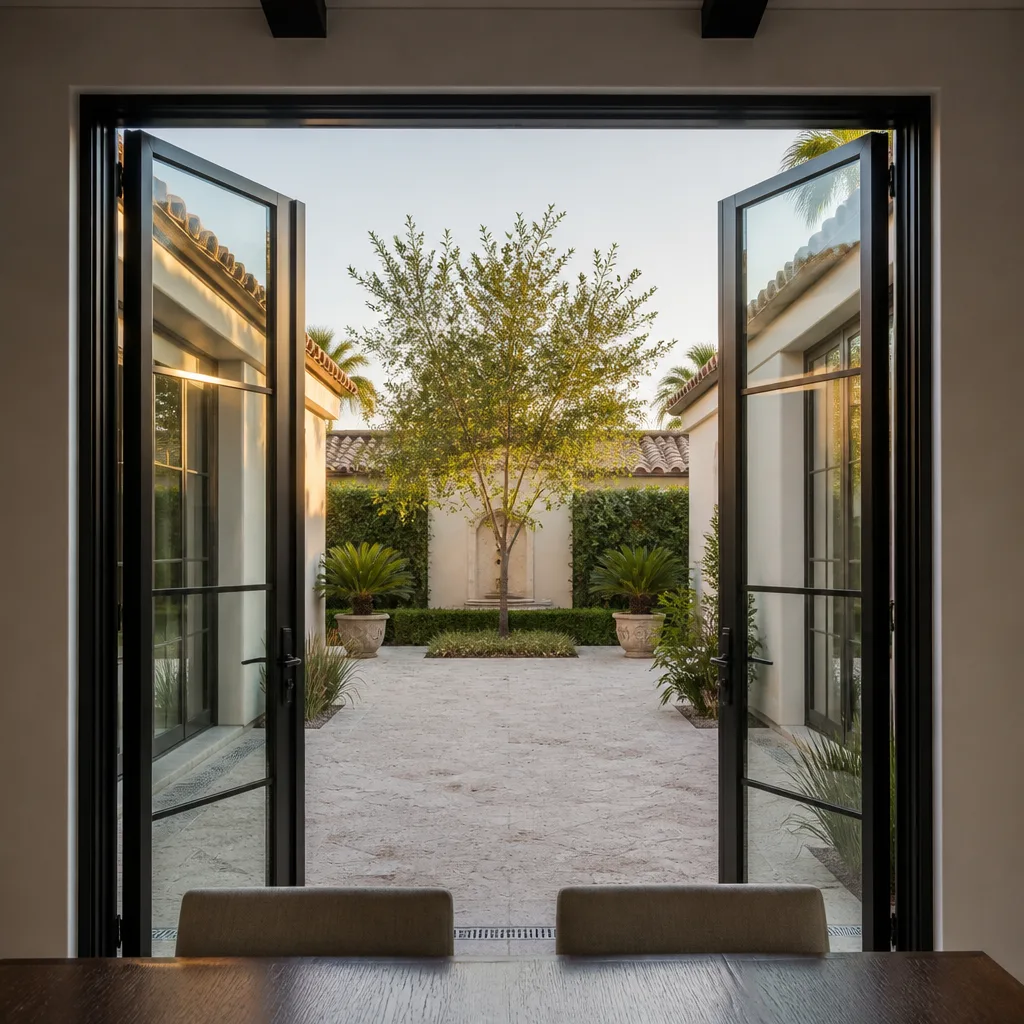
Different frame materials fail differently in Lighthouse Point’s climate. Knowing the specific failure modes for your window type prevents misdiagnosis and unnecessary replacement.
Vinyl Frames
Vinyl does not corrode, but it does degrade in UV and thermally cycle significantly in our climate. Warning signs include:
- Frame yellowing: Titanium dioxide depletion in the cap stock. Cosmetic at first, but indicates UV penetration that will eventually embrittle the substrate.
- Welded corner separation: Thermal expansion stress exceeds weld strength. Appears as a hairline crack at the corner, often starting at the interior. Once visible, the corner will progressively open.
- Sash warping: Visible bow in the sash profile, causing binding or weatherstrip gaps. Common in dark-colored vinyl on west exposures where surface temperatures exceed 160°F.
We specify lighter colors or composite frames for west-facing replacements in Lighthouse Point, with performance data from our PGT and CWS lines.
Aluminum Frames
See Salt-Front Corrosion above for the full progression. Additional aluminum-specific indicators:
- Thermal break extrusion: The polyamide strip between interior and exterior aluminum becomes visible as the frame sections shift slightly. Indicates thermal break degradation or frame racking.
- Drainage weep obstruction: Weep holes clogged with debris or salt residue trap water in the frame cavity. Visible as staining below weep locations or water spilling over the sill during heavy rain.
Wood and Wood-Clad Frames
Rare in new Lighthouse Point construction but common in homes built 1960-1990. Wood-specific warnings:
- End-grain darkening: Moisture wicking into the most absorbent part of the frame. Often visible only when the sash is opened and the end grain is exposed.
- Cladding seam separation: The aluminum or vinyl cladding pulls away from wood substrate at corners or joints. Water enters the gap and is trapped by the cladding, accelerating concealed rot.
Wood frame repair is rarely cost-effective in our climate. We typically specify aluminum or composite replacement from our ViewLux or CGI lines for these applications.
Fiberglass and Composite Frames
The most stable material in Lighthouse Point’s climate, but not immune:
- Surface fiber blooming: UV degradation exposes the glass fiber mat, visible as a fuzzy texture. Indicates that the resin matrix has degraded; structural properties may be compromised.
- Connection point movement: Screws or brackets loosen in the composite substrate. The material does not creep like vinyl, but fastener retention can degrade if the resin system is incompatible with marine exposure.
Common Mistakes to Avoid
- Assuming condensation between panes is “just humidity.” Center-glass condensation is always seal failure. Waiting for it to “clear up” allows mineral staining and frame corrosion to progress, turning a glass-unit replacement into a full sash or frame job.
- Lubricating a binding window without diagnosing why. Silicone spray on a racking sash masks foundation movement until the frame distorts beyond repair. Always determine binding type before treating symptoms.
- DIY sealant replacement over active leaks. Applying new sealant over failed sealant traps water in the wall cavity. Proper repair requires removal, substrate drying, and compatible material selection - not a caulk gun from the hardware store.
- Ignoring east-facing exposure because “it’s not the sunny side.” In Lighthouse Point, east-facing windows receive the highest salt loading from onshore winds. Corrosion and sealant degradation often progress faster on east exposures than south or west.
- Replacing windows without inspecting rough opening condition. Installing a new unit into a compromised opening transfers the problem to the new window. We measure and document rough opening condition as part of every window installation in Lighthouse Point survey.
- Waiting for visible water intrusion before acting. By the time water appears on interior finishes, cavity damage is typically extensive. The early indicators in this guide exist precisely to prevent this outcome.
- Accepting a verbal estimate for window work. Haven Clause 1 requires the written price before any work starts. A verbal quote cannot be compared, cannot be enforced, and often changes once work begins. We provide the measured survey and written scope for this reason.
When to Call a Professional
Call for inspection when you observe any of the following: condensation between panes that persists past mid-morning; operation resistance that changes seasonally or affects multiple units; any stage of salt-front corrosion beyond surface oxidation; sealant adhesive or cohesive failure; or any interior reveal change - paint bubbling, drywall softness, baseboard separation, or trim joint opening. These indicators fall outside DIY maintenance and indicate conditions that will worsen with delay.
Sightline Windows & Doors Lighthouse Point offers free estimates in Lighthouse Point. Every engagement begins with a measured survey you keep, and the written quote cannot differ from that document. Our technicians are background-checked, uniformed, and identified by license number before arrival. Call (754) 600-8907 to schedule your free estimate.
Frequently Asked Questions
Window replacement in Lighthouse Point typically ranges from $650 to $1,400 per opening for standard vinyl or aluminum double-hung units, and from $1,200 to $2,800 for impact-rated systems meeting High Velocity Hurricane Zone requirements. Custom sizes, geometric shapes, and specialized glazing add 15-40%. The price depends on frame material, glass specification, installation type (pocket vs. full-frame), and whether the rough opening requires repair. Call (754) 600-8907 for a written estimate based on your specific openings - estimates are free, and we provide a free second opinion on any competitor’s written quote.
Vinyl and aluminum windows in Lighthouse Point’s marine environment typically provide 15-25 years of serviceable life, with the lower end for east-facing exposures and original equipment from pre-2010 installations. Impact-rated systems from current manufacturer specifications - PGT, CGI, CWS, and ViewLux lines we install - are engineered for 30+ year service life with proper maintenance. The critical factor is not calendar age but exposure severity: salt proximity, orientation, and maintenance history determine actual longevity more than manufacture date.
No. Haven Clause 1 of the Haven Standard states that the measurement and the quote are the same document. The price we write before work starts is the price on the final invoice. If concealed damage is found during installation - rotted rough opening, corroded fasteners, code violations - we document it with photography, present a written amendment with specific scope and price, and require your signature before proceeding. No surprises.
Yes. Window replacement in Lighthouse Point requires building permits for all exterior openings, with additional product approval documentation for impact-rated installations in the High Velocity Hurricane Zone. We pull permits, schedule inspections, and provide the passed inspection documentation as part of every job. The permit status is included in your photo record.
Impact-rated windows carry a permanent label - typically etched in the glass corner or on the frame - indicating compliance with Miami-Dade County Protocol PA 201, PA 202, or ASTM E1886/E1996. The label includes the product approval number, manufacturer, and performance grade. If you cannot locate a label, the unit is likely not impact-rated, which affects insurance requirements and code compliance in Lighthouse Point. We verify rating during our measured survey and document it in writing.
Glass-only replacement (insulated glass unit, or IGU) is possible when the frame, sash, and hardware are in good condition and the IGU is available in the exact size and specification. This is most viable for units under 15 years old from major manufacturers with ongoing production. For older units, discontinued series, or frames with corrosion or deformation, full replacement is more cost-effective and provides updated energy performance and warranty coverage. We assess both options during our survey and price each in writing.
The Bottom Line
Window and door failure in Lighthouse Point is predictable 12-18 months before it becomes expensive. The intermediate indicators - condensation location, operation resistance character, salt-front corrosion stage, sealant condition, and interior reveal changes - are detectable with basic tools and documented observation. Acting on these signals permits repair or targeted replacement; ignoring them typically requires full-frame replacement with wall repair. The homeowners who avoid surprise costs are those who inspect systematically, document progressively, and engage professionals when indicators cross from maintenance to repair thresholds. Sightline Windows & Doors Lighthouse Point home provides the measured survey, written price, and documented photo record that makes this process transparent.
Written by Sonia Raman, Owner at Sightline Windows & Doors Lighthouse Point, serving Lighthouse Point since 2012.